Ralph J. Smit Laravel Software Engineer
DBngin is very handy and lightweight application to get MySQL, PostgreSQL and Redis databases on your local machine. It features a simple way to spin up one or more databases. The combination with TablePlus – its 'sister'-software – makes it very easy to view, manage and edit your databases. In this tutorial I'll show you how to get your first DBngin database up and running and which credentials you need to use to connect to it.
To get started, what is DBngin exactly? DBngin is a tool that allows you to run MySQL, PostgreSQL and Redis services on your own device (localhost). But wait.. what is a service? I just want a database.
Services contain databases
The difference between a service and a database also confused me at first. Let me explain it to you and then it'll certainly make sense to you.
See it like this: a service can be compared to a 'driver' or an 'operating system' on which you run 'apps' (= databases). So you can create a service and 'inside' that service, you create your databases. This is very handy, since it allows you to run e.g. two versions of MySQL simultaneously, each with its own databases.
So, how do we create a database? The easiest way is to open a service in TablePlus (I'll show you how) and create databases with TablePlus.
As a short recap, what is the combined procedure for getting local development databases?
-
Create a service within DBngin with the kind of database you need.
-
Open the service in TablePlus & create databases
-
Connect your application to the database.
At the moment DBngin supports three kinds of databases: PostgreSQL, MySQL and Redis. There are feature requests for MongoDB, MariaDB and others, so perhaps we'll see those in a future release.
1. Create a service within DBngin with the kind of database you need
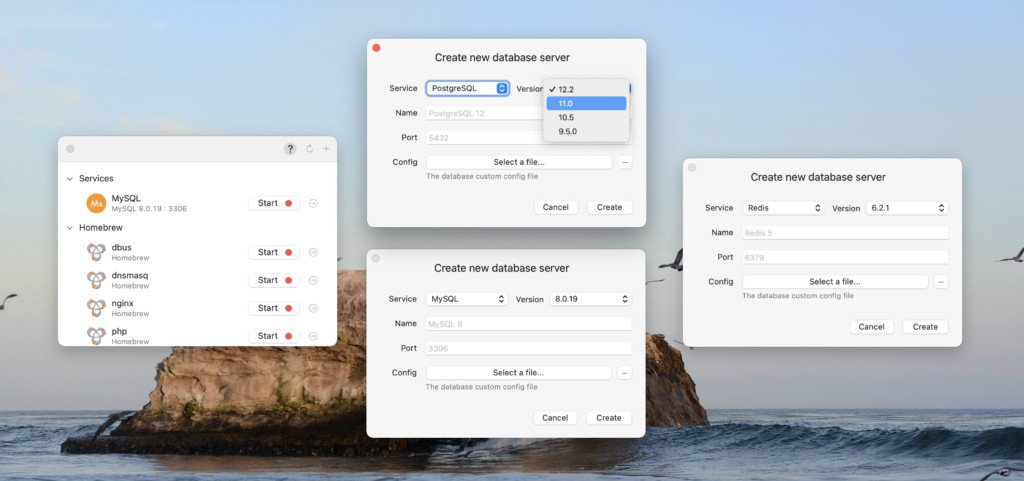
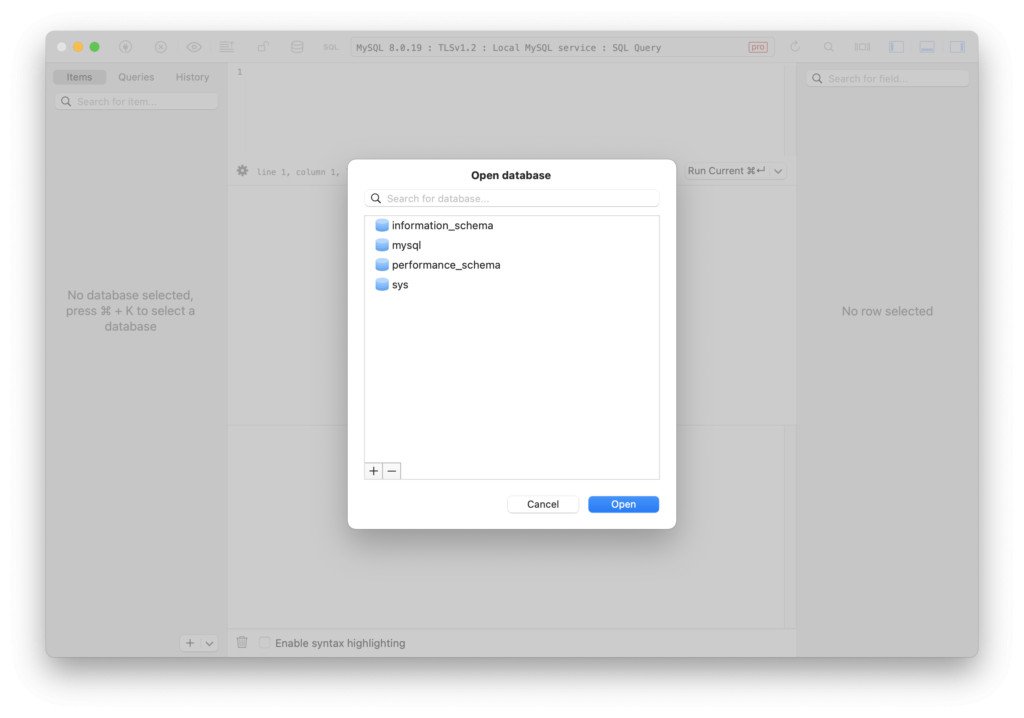
First, download DBngin from the official website and follow the procedure to install the app. Then open the app. You'll see a screen like this:

The default 'dashboard' of DB
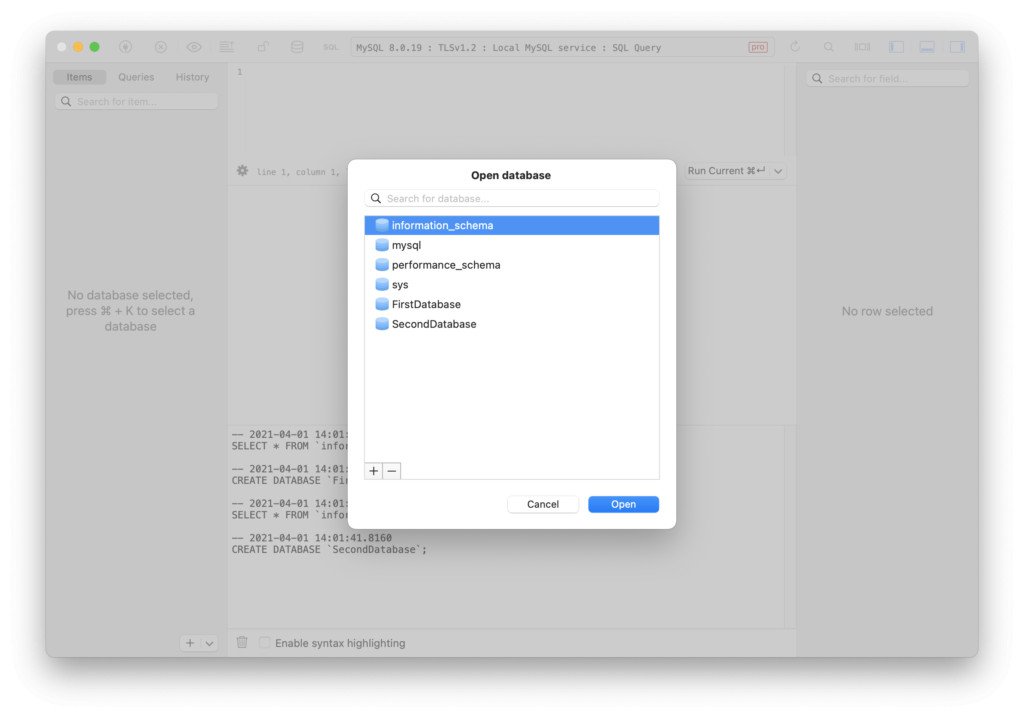
For this tutorial, I'll create a MySQL database. Click the '+' icon to create a service. A new window appears. Select the kind of database you want and the version. Add a name for the service and check which port it should use. It doesn't really matter, but note that you can only run services with different ports at the same time. So for MySQL the port 3306 is default. If you need a second service to run at the same time, you could create one with port 3307. I'll choose 3307 since I already have a service at 3306.
Click Create.

Creating a new MySQL database with DBngin.
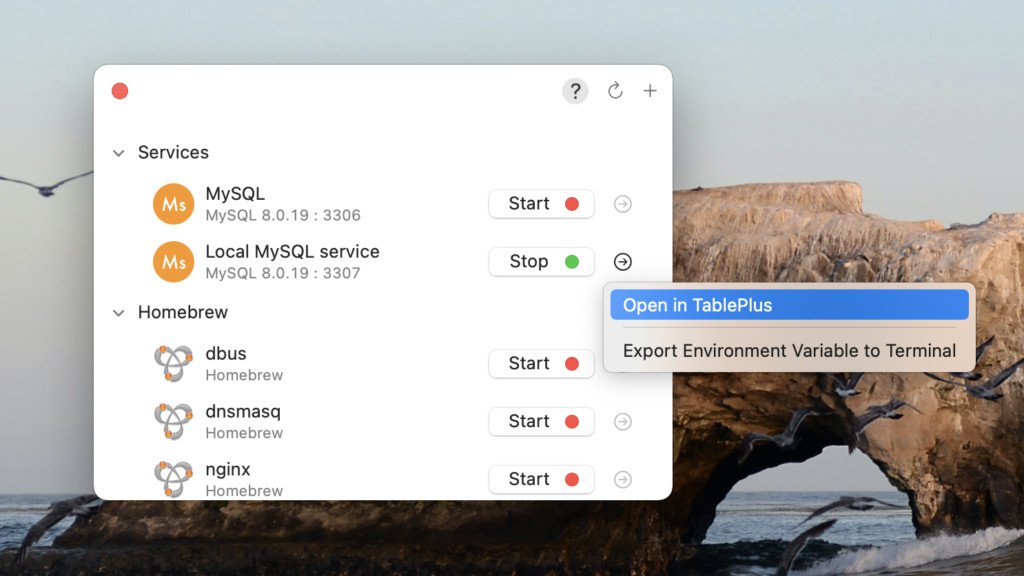
Now you'll see the service you created in the panel. I already had one MySQL service created with port 3306 and the new service now has the port 3307. You can always edit the port later.
Now my 'dashboard' screen looks like this:

Click Start to get your service up and running!
2. Open the service in TablePlus & creating databases
Download the latest version of TablePlus from the website and install the app. TablePlus comes from the same developer(s) as DBngin, so it works great together.
Let's open the service in TablePlus. Click the arrow > Open in TablePlus.
A new window of TablePlus opens with the service.
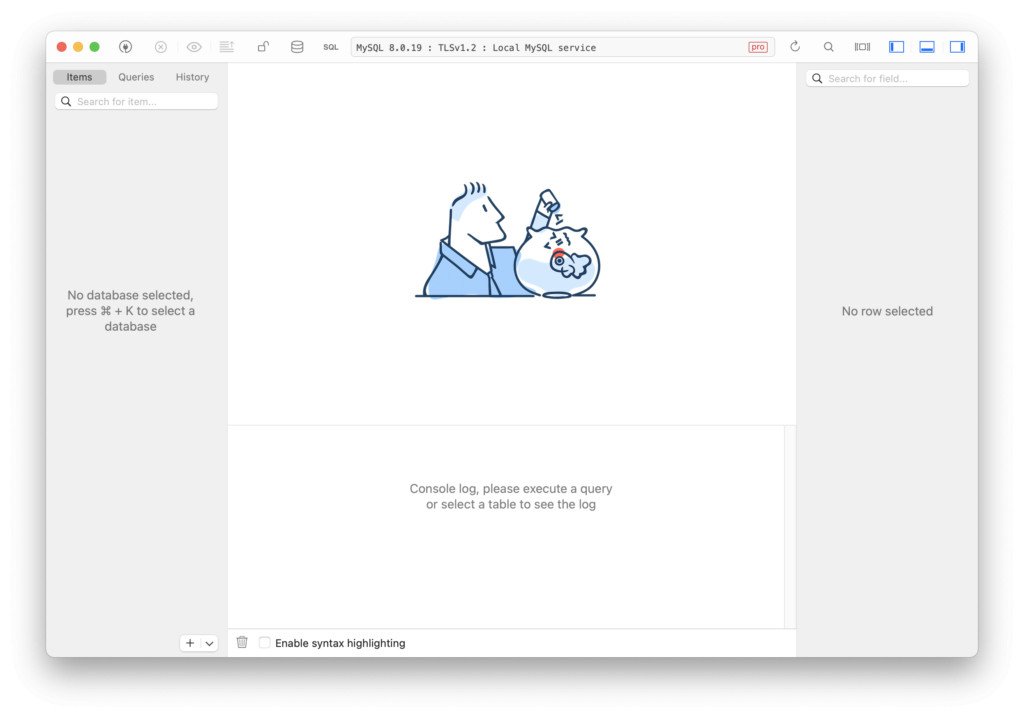
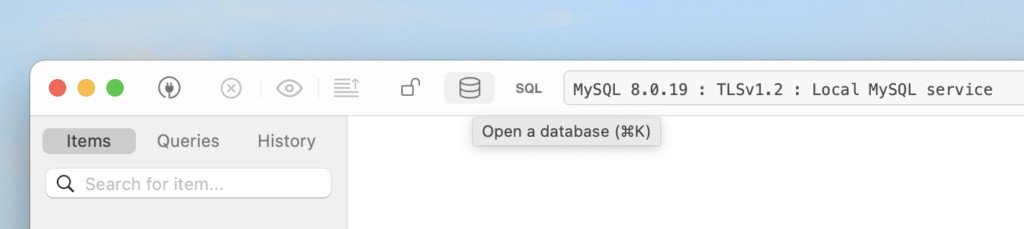
Click the Database button (sixth button in the top left bar; the three circles stacked on top of each other). This opens an overview of all the databases available in this service.
As you see, there are already several default databases. These databases belong to the service and the number and names of the defaults depend on the database service. Don't touch these, only add new ones.
Click the + button to add a new database. I'll add two databases.

Now we have created two local MySQL databases!
3. Connect to the database
Now there is only one step left: connecting to the database. Use the below table to determine which connection details you need.
| Name | [your database name] |
| Host | localhost:3307 or 127.0.0.1:3307 |
| User | root or postgres for PostgreSQL |
| Password | [empty] |
The login credentials for a database in a service with port 3307. A password doesn't exist, you can leave that field empty in your application.
If you're using the default port in DBngin for a service, changes are that you don't have to use a post but only localhost or 127.0.0.1. If that's not the case, add the port at the end: :[PORT].
The default ports are:
-
PostgreSQL: port
5432 -
MySQL: port
3306 -
Redis: port
6379
Update: as kind reader suggested in the comments, if you use PostgreSQL, you should use postgres as the username.
Bonus: viewing your tables.
If you have TablePlus open anyway, you can also use it to view the tables and records in your database. If you don't see them, try reloading the connection with Cmd + R, just like a webpage. Now you can view and inspect tables and records in your database!
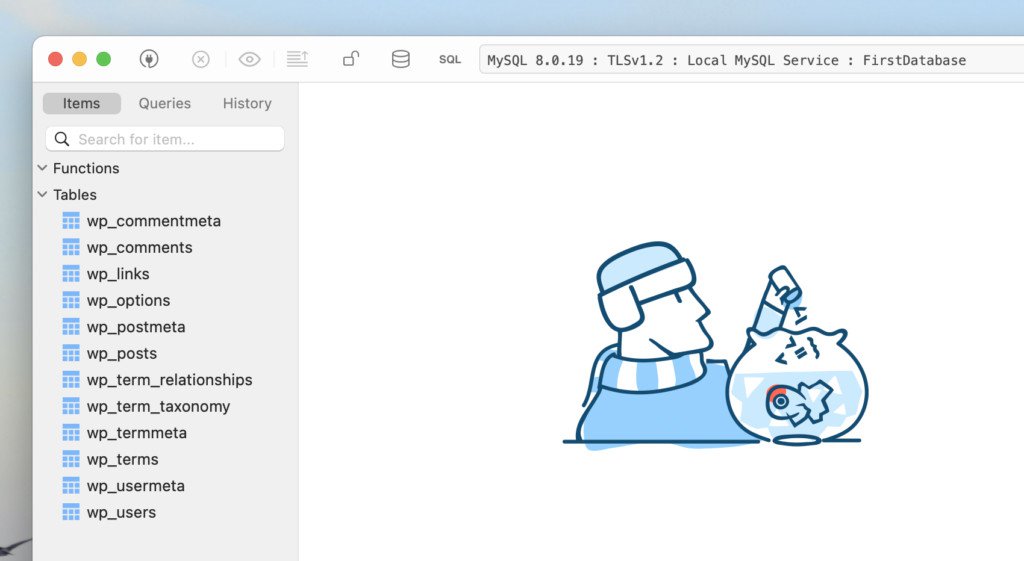
The tables being created by a fresh WordPress installation in this database. Select a table to view the records inside.
I love to hear from you! If this has been helpful, leave a comment below.👇 Also, if you have any questions, feel free to ask them!
Published by Ralph J. Smit on in Guides . Last updated on 25 January 2023 .